javascript
65 lines · 10 steps
Building a validated signup form in React
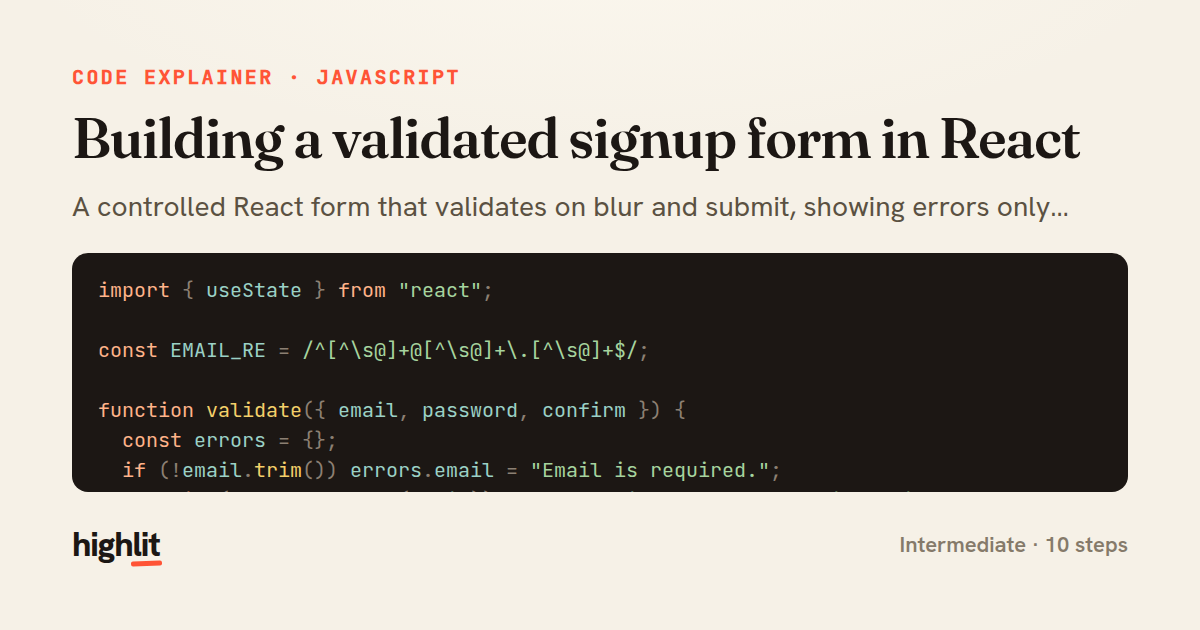
A controlled React form that validates on blur and submit, showing errors only for fields the user has touched.
Explained by
highlit
1import { useState } from "react";
2
3const EMAIL_RE = /^[^\s@]+@[^\s@]+\.[^\s@]+$/;
4
5function validate({ email, password, confirm }) {
6 const errors = {};
7 if (!email.trim()) errors.email = "Email is required.";
8 else if (!EMAIL_RE.test(email)) errors.email = "Enter a valid email address.";
9 if (!password) errors.password = "Password is required.";
10 else if (password.length < 8) errors.password = "Must be at least 8 characters.";
11 if (confirm !== password) errors.confirm = "Passwords do not match.";
12 return errors;
13}
14
15export default function SignupForm({ onSubmit }) {
16 const [values, setValues] = useState({ email: "", password: "", confirm: "" });
17 const [errors, setErrors] = useState({});
18 const [touched, setTouched] = useState({});
19
20 const handleChange = (e) => {
21 const { name, value } = e.target;
22 setValues((prev) => ({ ...prev, [name]: value }));
23 };
24
25 const handleBlur = (e) => {
26 const { name } = e.target;
27 setTouched((prev) => ({ ...prev, [name]: true }));
28 setErrors(validate({ ...values }));
29 };
30
31 const handleSubmit = (e) => {
32 e.preventDefault();
33 const nextErrors = validate(values);
34 setErrors(nextErrors);
35 setTouched({ email: true, password: true, confirm: true });
36 if (Object.keys(nextErrors).length === 0) onSubmit(values);
37 };
38
39 const fieldError = (name) => touched[name] && errors[name];
40
41 return (
42 <form onSubmit={handleSubmit} noValidate>
43 {[
44 { name: "email", label: "Email", type: "email" },
45 { name: "password", label: "Password", type: "password" },
46 { name: "confirm", label: "Confirm password", type: "password" },
47 ].map(({ name, label, type }) => (
48 <div key={name} className="field">
49 <label htmlFor={name}>{label}</label>
50 <input
51 id={name}
52 name={name}
53 type={type}
54 value={values[name]}
55 onChange={handleChange}
56 onBlur={handleBlur}
57 aria-invalid={Boolean(fieldError(name))}
58 />
59 {fieldError(name) && <span className="error" role="alert">{errors[name]}</span>}
60 </div>
61 ))}
62 <button type="submit">Create account</button>
63 </form>
64 );
65}
01 / 01
STEP 01
‹ swipe to step through ›
Walkthrough
Space play
←→ step
click any line
Three takeaways
- 1Keeping validation in a pure function separate from the component makes rules easy to test and reuse.
- 2Tracking a 'touched' set lets you defer error messages until a field has actually been interacted with.
- 3Wiring aria-invalid and role='alert' turns visual validation into accessible feedback for free.
Related explainers
javascript
function evaluate(expression) {
  const tokens = tokenize(expression);
  let pos = 0;
Building a recursive descent calculator
parsing
recursion
operator-precedence
Intermediate
8 steps
typescript
import { Injectable, effect, signal, computed } from '@angular/core';

interface Preferences {
  theme: 'light' | 'dark';
A signal-based preferences store in Angular
signals
state-management
persistence
Intermediate
7 steps
javascript
import { useState, useEffect, useCallback, useRef } from 'react';

const cache = new Map();
const inflight = new Map();
Building a stale-while-revalidate hook in React
caching
request-deduplication
custom-hooks
Advanced
10 steps
typescript
import { useEffect, useState } from "react";

interface Section {
  id: string;
Building a scroll-spy hook in React
custom-hooks
intersectionobserver
dom-observation
Intermediate
8 steps
javascript
import { useEffect, useRef, useState } from 'react';

export function useDelayedFlag(active, delay = 300) {
  const [visible, setVisible] = useState(false);
Delaying a loading spinner with a React hook
custom-hooks
debouncing
cleanup
Intermediate
8 steps
javascript
const SWIPE_THRESHOLD = 80;
const MAX_TRANSLATE = 120;

export function attachSwipeToDismiss(element, onDismiss) {
Building a swipe-to-dismiss gesture in JS
touch-events
gesture-detection
dom-manipulation
Intermediate
10 steps
Share this explainer
Here's the card — post it anywhere.
Made with highlit — turn any snippet into a walkthrough like this in about a minute.
Explain your code
Embed this explainer
Drop the interactive walkthrough into a blog or docs. Views never cost a credit.
<iframe src="https://highlit.co/explainers/building-a-validated-signup-form-in-react-explained-javascript-3b38/embed?autoplay=1" width="100%" height="520" loading="lazy" style="border:0"></iframe>
Autoplay is on by default — add ?autoplay=0 to start paused.